This is part two of Control Rapiro with Mobile Phone tutorial. For information how to connect RedBearLab BLE Nano and Rapiro, you can find in Part one of the tutorial.
This is part two of Control Rapiro with Mobile Phone tutorial. For information how to connect RedBearLab BLE Nano and Rapiro, you can find in Part one of the tutorial.
This is part one of Control Rapiro with Mobile Phone Tutorial. I will show you how to connect Rapiro to RedBearLab BLE Nano Board and use test code to test the connection. If you have successfully connected them, you can go to part two.

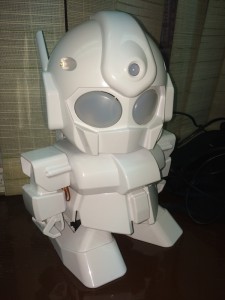
Rapiro is a cute, affordable, and easy to assemble humanoid robot kit. Rapiro comes with an Arduino compatible controller board, and you can reprogram Rapiro with Arduino IDE easily. One of the coolest feature is that you can extend Rapiro‘s functionality by connecting other components to enhance Rapiro’s capabilities.
“Its limitless possibilities all depend on you.”
This time, I will show you how to control Rapiro with IOS devices through BLE connection. I will divide this tutorial in two parts.
First will show you how to connect Rapiro to RedBearLab’s BLE Nano Board, and run a simple test code to confirm the connection.
Then in the second part of tutorial, I will show you how to connect and turn your IOS devices into a remote control and to control Rapiro‘s action.
Part 1: Connect RedBearLab BLE Nano to Rapiro
Part 2: Using IOS device to control your Rapiro through RedBearLab BLE Nano
Optional: Control Rapiro with Evothings Client