Control Rapiro with Mobile phone Introduction

rapiro

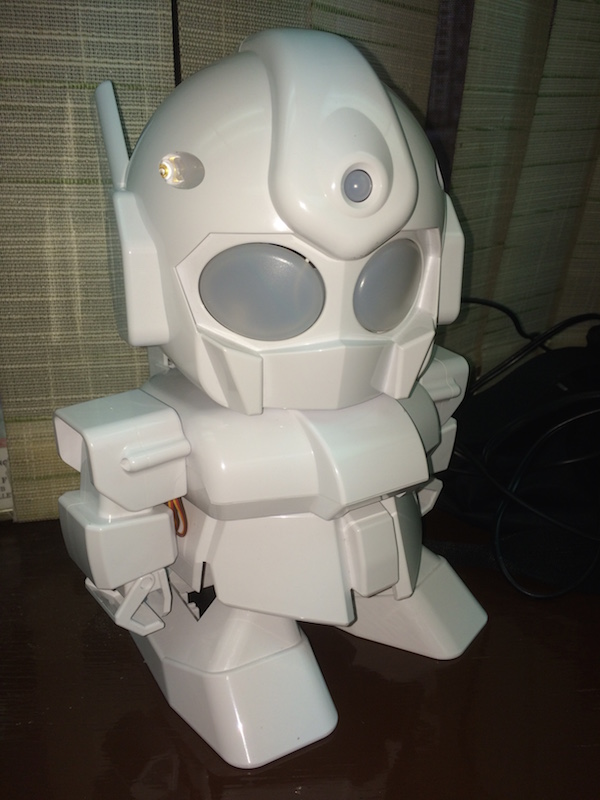
Rapiro is a cute, affordable, and easy to assemble humanoid robot kit.  Rapiro comes with an Arduino compatible controller board, and you can reprogram Rapiro with Arduino IDE easily.   One of the coolest feature is that you can extend Rapiro‘s functionality by connecting other components to enhance Rapiro’s capabilities.

“Its limitless possibilities all depend on you.”

This time, I will show you how to control Rapiro with IOS devices through BLE connection. I will divide this tutorial in two parts.

First will show you how to connect Rapiro to RedBearLab’s BLE Nano Board, and run a simple test code to confirm the connection.

Then in the second part of tutorial, I will show you how to connect and turn your IOS devices into a remote control and to control Rapiro‘s action.

Parts Need:

  1. Rapiro
  2. RedBearLab BLE Nano & MK20 USB Board (only need BLE Nano, but need USB Board to program the chip)
  3. Four Female/Male Jumper Wires
  4. IOS device

Software

  1. Arduino IDE 1.5.7 or later
  2. Xcode (for IOS Development, and you must be a registered IOS Developer in order to run the program on your IOS device)
  3. RedBearLab nRF51822-Arduino (Add support to your Arduino IDE for compiling nRF51822 firnware

Tutorial

Part 1: Connect RedBearLab BLE Nano to Rapiro

Part 2: Using IOS device to control your Rapiro through RedBearLab BLE Nano

Optional: Control Rapiro with Evothings Client

Quick Guide!


Read More

Nix and Mac OSX (High Sierra) FileVault

I was having problem when trying to enable FileVault, and found out later that because of Nix.  In order to enable it again, in terminal:

  1. List all uses from fdesetup with this command: sudo fdesetup list
  2. Remove user that starts with prefix nixbld from fdesetup: sudo fdesetup remove -user <nixbld_user>
  3. Enable FileVault: sudo fdesetup enable

If success, you should get prompt to enter your username (with admin permission) and password.  You can check encryption status with: sudo fdesetup status, and it should show you the current progress for turning on FileVault.

Not sure if need to add back nixbld user to fdesetup, but probably will find out later if there is problem.

Read More

Parse Server, Live Query and AWS LB

Today my partner has problem to create connection for Live Query to an AWS server deploy with Elastic Beanstalk, so I have to see why he is not able to start a websocket connection.

Currently, that Parse Server is running on a EC2 instance within a VPC, with an iptable routing request from AWS LB to Nginx.

My partner has tried couple things.  Switch from AWS classic LB to Application LB, and also enable stickiness on the request.  However, he was still stuck.

After Google like everyone do, I found that  “NGINX supports WebSocket by allowing a tunnel to be set up between a client and a backend server. For NGINX to send the Upgrade request from the client to the backend server, the Upgrade and Connection headers must be set explicitly

The setting is simple, I just added those header in Nginx configuration file, and Live Query Setting is working!


For more information how to upgrade request, this is the link:

https://www.nginx.com/blog/websocket-nginx/

Read More

Magento redirect route in Custom Module and Observer

I was asked to redirect all routes(except admin) in Magento 1.9.2 to a custom module‘s frontend.  With Observer pattern, it is very easy to achieve it.

In Magento, when the front page layout beginning to display, an event “controller_front_send_response_before” will occur, and we will subscribe to this event to trigger our function for redirection.

To subscribe to this event, add the following xml tags in etc/config.xml in our custom module directory in the global tag.

This is what I guess the meaning of this xml tag, but I may be wrong: Magento will use singleton method, get model observer, and call customRedirect() function.  (e.g. Mage::getSingleton(‘custom_module/observer’)->customRedirect() )

Since we will need a new model “Observer”, in our custom module directory, under Model folder, create a file call “Observer.php”.

In customeRedirect() function, my code will check if this is admin path, or custommodule path.  If pattern does not match, it will redirect to custommodule route.

if you want to redirect to HTTPS route, you will need to provide the second parameter in setRedirect function like this:

setRedirect(Mage::getUrl(“customemodule/index/index”, array(‘_forced_secure’ => true);


Read More